Test of elevation system EME
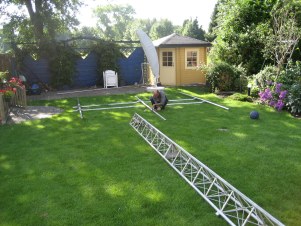
To be sure that the ideas I have as presented in the Elevation system chapter, I decided to build it prior to mounting it to the real tower. I was lucky to have a top section of an aluminum two-piece tower and used it for this test purpose. The top-section was placed on a support, so work was at at confortable level.
My good HAM-friend PA1LA, Roel is living relatively close to me and he was willing to give me a hand in the construction phase. First we moved the top-section of the temporary tower to the back of my house and placed the H-frame also near to it.
 In the picture to the right and below you can see Roel busy on mounting the rotorpipe to the H-frame. After this job was done, the rotorpipe slides into the top-bearing that is standard mounted on these type of tower sections. The rotorpipe slides in until it reached the azimuth rotor mount platform. For our tests we did not mount a rotor, instead we fixed the rotorpipe to a YEASU heavy-duty bearing.
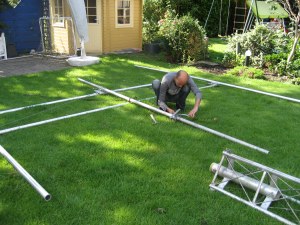 There were some 'left-overs' from another use of the rotorpipe and these needed to be removed before it can slide into the NYLON bearing of the tower section.
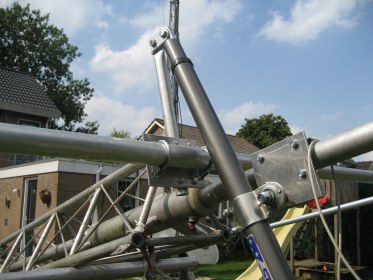
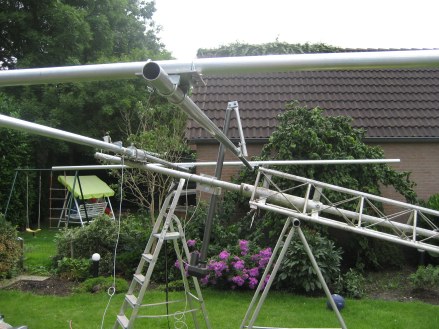
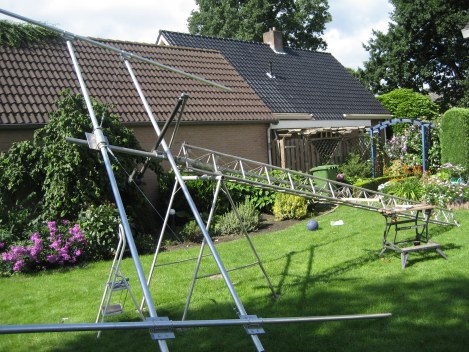 At this stage of the mounting process, the H-frame is mounted to the rotorpipe, the elevation rotor is mounted and the push-rod is connected to the lower H-frame. You can also see that there is additional steelwire diagonally mounted from the top-middle of the frame to both left and right lower edges. This gives much more rigid construction because we don't want sideway forces introduced to the actuator. By using this construction we are sure that the lower H-frame pipe is always located in the same spot, even at higher wind forces.
 At first we thought we needed an flexible joint were the push-rod from the top of the actuator to the H-frame is mounted. Therefore we mounted an old doorhinge (scharnier) between it. At first we thought we needed an flexible joint were the push-rod from the top of the actuator to the H-frame is mounted. Therefore we mounted an old doorhinge (scharnier) between it. This turned out to be not the success we hoped for. All that moved was the actuator itself rather then the H-frame pushed away from the rotorpipe...
Because time was running out that day, we did not succeed in finishing the job. The next day I started working on it again. After some tries in moving the fixation point of the actuator and adapting the length of the push-rod towards to tip of the actuator, I finally got the idea working.
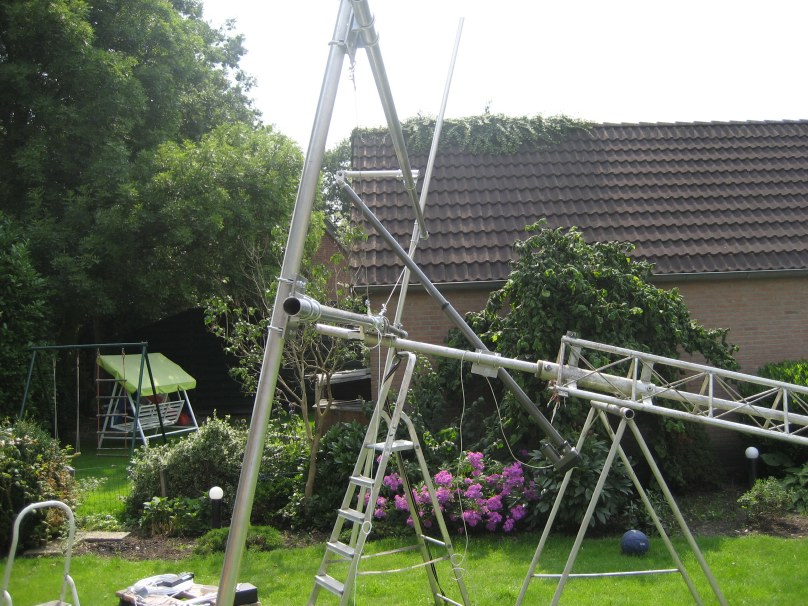
The below picture show the H-frame in a few elevated angles. The amount of elevation is measured by means of a Lidl-spirit. This is modified according the description on the internet by many others. Examples can be found at PA3FPQ's site.
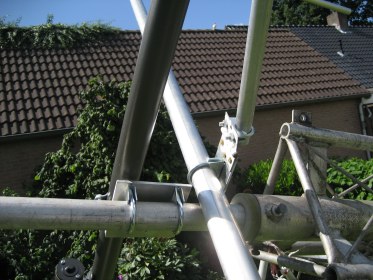
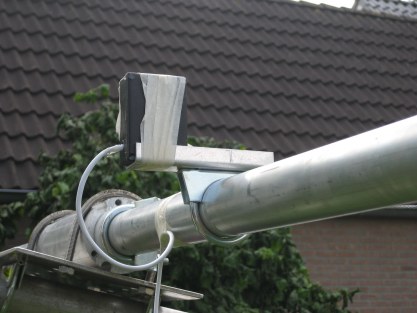
 Here you see the shortened push-rod, but also the fixation point of the actuator is now behind the rotorpipe. Moving the fixation point of the actuator gives a better weight distribution. Bare in mind that this is a 10kg heavy-duty actuator (Superjack QUARL3636+). Mounting the fixation-point close to the end of the actuator would give huge bending force and that is were the whole idea of the additional push-rod was meant for.
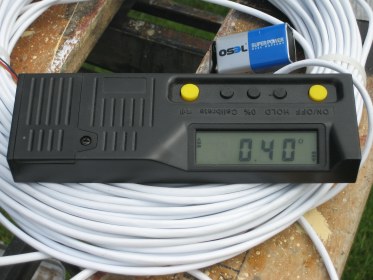
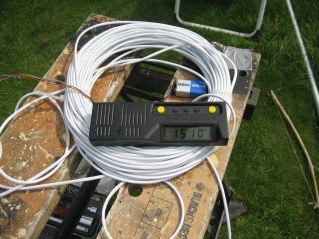
Here below you see the remote sensor of the spirit (waterpas) and also the readout. The remote sensor is connected by 40 meters of cable and is set to almost 0 degrees while the H-frame was not elevated.
  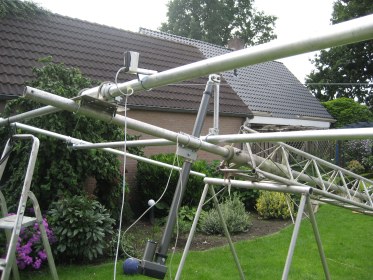 Here is the total picture, ready to start elevating. You see the remote sensor is not in line with the rotorpipe but has an offset angle. This is because the tower is on a support and gives the setup already an angle relative to the horizon of about 15 degrees. The remote sensor was positioned simply at "0" while not elevated.
 Elevation is here 15 degrees. Would it go further without problems? Lets see....
  Elevation is 65 degrees and still no problems found. 65 degrees is already maximum that is needed at my location.
It looks as if the construction is now doing what is was expected. But, there is some length left in the actuator, what will be the maximum elevation that can be achieved?
 And yes, full elevation is possible! Just as the actuator hits the limit-switch the readuot tells 90 degrees elevation. This was pure luck I must say, but nice achievement after another day of struggling with it...
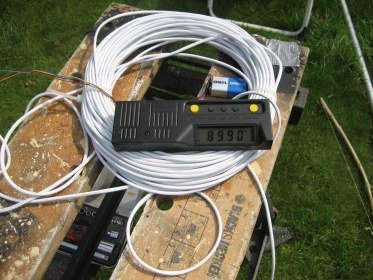 Here is the readout at maximum elevation. It shows 89.90 degrees, close enough to 90 degrees I would say.
|