13cm_G4DDK_VLNA
NF&Gain measurements to be added, please come back later...
After using an old, modified sattelite-down converter's input stage to serve as a LNA, it was time to do it the right way...Measurements on the noise-figure of the 'old' LNA revieled a Noise-Figure of only 2.5 - 3dB. That was not good enough, so I searched the internet and found a lot of good reactions on the G4DDK VLNA. I ordered the kit, together with the 23cm version. Here is my story and some measurement results.
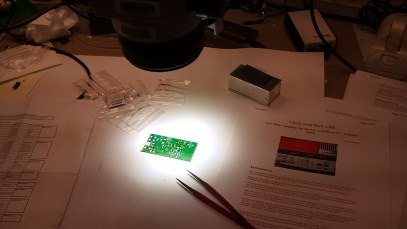 The first thing you must do is clean_up your table were you want to assemble the PCB. Because of the small components you must ensure you find them back once the spring away from the pliers you need to hold them... The first thing you must do is clean_up your table were you want to assemble the PCB. Because of the small components you must ensure you find them back once the spring away from the pliers you need to hold them...I use a magnifying microscope to assemble the PCB. There is good lighting and also a very small soldering iron needed to make it a succes.
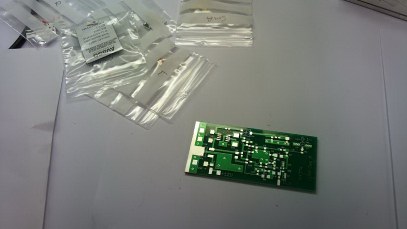 In the first hour of the assembly you can see hardly any progress. This is because the SMD components are so small. In the picture here almost all the small SMD (Surface Mount Components) are placed.
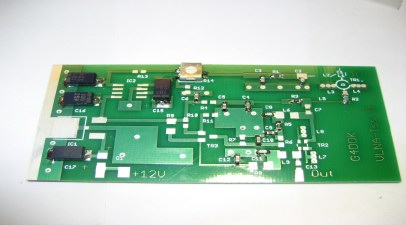 Once the small components are in place, the more bigger capacitors, trimmer-resistor and integrated components are to be soldered.
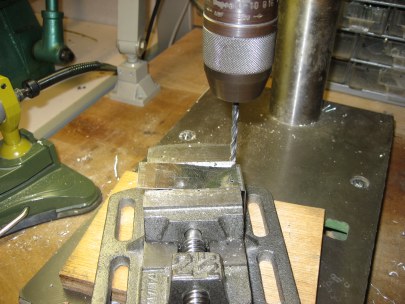 The kit also needs some mechanical work. The tinned box must be drilled for the two SMA connectors and the feedthrough capacitor for the 12V supply.
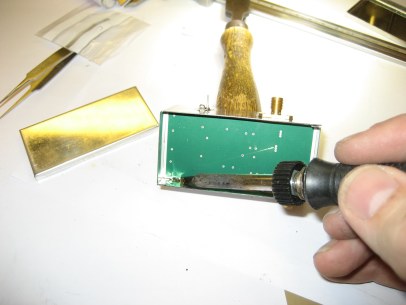 Last work is soldering the PCB at the correct position in the prepared tinned box. The height in relation to the rim is important because this determines the positions of the two wire-inductors in the input circuit.
 The two inductors are free-space mounted from the input-connector towards the PCB. In the instructions from G4DDK is clearly explained how the inductors must be placed.
|